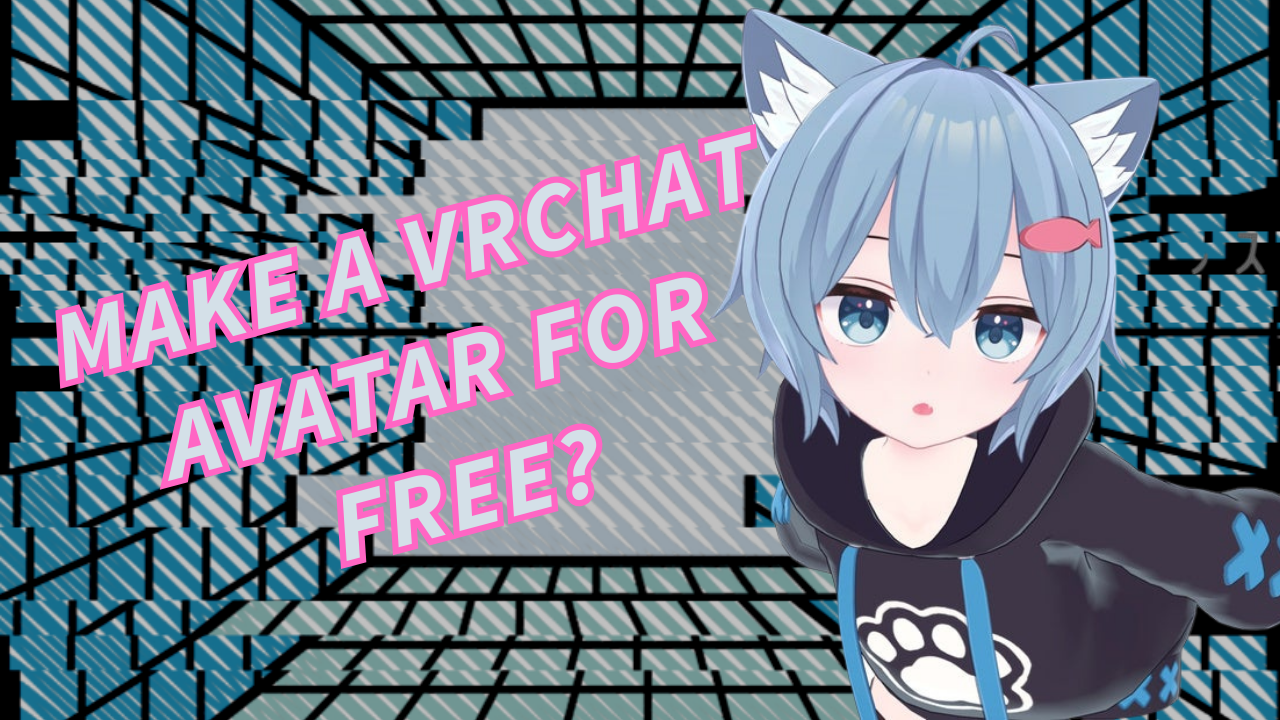
How to Make a VRChat Avatar for FREE? A Step-by-Step Guide
Hey, fellow VRChat fans! Are you tired of using the same old default avatars as everyone else? Do you want to stand out and express your true self in the virtual world? Well, you’ve come to the right place.
In this comprehensive guide, I’m going to take you on a journey to craft your very own personalized VRChat avatar from scratch, and guess what? It won’t cost you a penny! As a dedicated VRChat and VTuber fan, I’ve devoted countless hours to perfecting my avatar, and now, I’m thrilled to spill all my secrets with you!
The best part? You don’t need any prior 3D modeling or animation experience. I’ll explain things in simple terms that even a total newbie can understand. With just a bit of time and effort, you can have your unique avatar ready to rock in VRChat.
So, let’s dive in and turn that dream VRChat avatar into reality. Trust me, this journey is way more exciting than shelling out real cash to commission someone else. Plus, the satisfaction of creating your masterpiece is priceless!
Table of contents
Step-by-Step Guide to Make Your Own VRChat Avatar from Scratch
Step 1 – Choose Your 3D Modeling Software
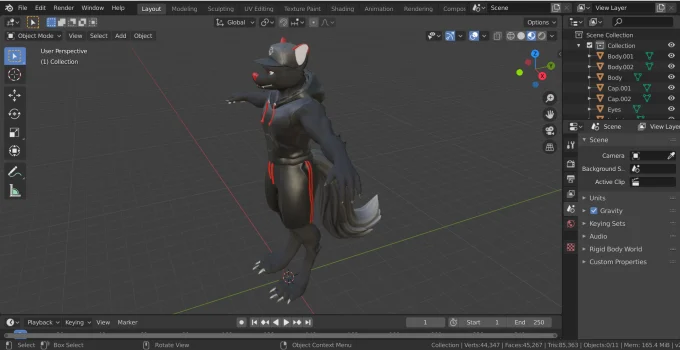
The first thing you need is a 3D modeling program. For beginners looking to make VRChat avatars, I highly recommend Blender. It’s 100% free, open source, and has an amazing community support. There are a bunch of fantastic Blender tutorials on YouTube as well.
Other popular options are 3ds Max, Maya, and Cinema 4D. But these can be quite expensive. As a fellow baller on a budget, I say skip them for now!
Step 2 – Find a Base Model
Making a full 3D model from complete scratch is very difficult for beginners. So the easiest way to start is to find a premade base model and customize it to your liking.
Here are some great places to find free or paid base models:
– Unity Asset Store: A goldmine of VRChat-ready models.
– CGTrader: Check out the 3D model marketplace with an anime/VTuber flair.
– Sketchfab: Dive into a treasure trove of both free and paid 3D models.
– Mixamo: Grab auto-rigged humanoid models ready for some animated action.
Looking for that VTuber vibe? Opt for models with an anime or cartoon aesthetic. And don’t forget to check for a Commercial Use license for any paid models — we don’t want any legal hiccups.
Step 3 – Import the Model into Blender
Now it’s time to bring your model into Blender for customizing! There are plenty of guides on YouTube showing how to properly import various model file types into Blender.
Be sure to double-check that the model’s rig transfers correctly and that the textures/materials come through as well. You may need to install some additional add-ons in Blender, depending on the file type.
Step 4 – Customize the Model
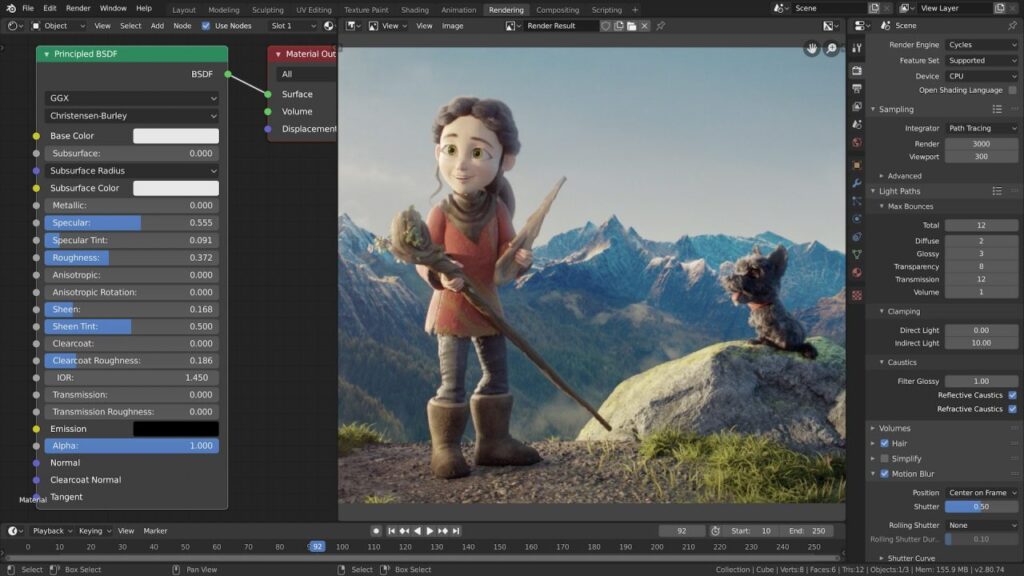
Here comes the fun part — customizing your model to match your vision! You can do all sorts of things like:
– Edit textures & colors in Blender
– Add accessories like hats, glasses, jewelry, etc.
– Change facial features
– Swap hair or clothes
Don’t go too crazy right away! Small subtle changes are best for beginners. And be careful not to break the rigging!
Step 5 – Animate Your Model
A VRChat avatar isn’t complete without animations! Here are some must-have animations to add:
– Lip-syncing with sound
– Idle animations like breathing, blinking, etc.
– Gestures and poses
– Walking/running
Search YouTube for Blender animation tutorials to learn the basics. Again, start simple at first. You can always add more complex animations later once you level up your skills!
Step 6 – Rig Your Model for VRChat
For your model to work properly in VRChat, it needs to be rigged in a specific way. There are two types of rigs:
– Humanoid: For human-like avatars with legs, arms, etc.
– Generic: For non-human avatars like robots, animals, etc.
Follow online guides to rig your model correctly, depending on the type. Get this part right, or your avatar won’t animate properly in VRChat!
Step 7 – Optimize Your Model
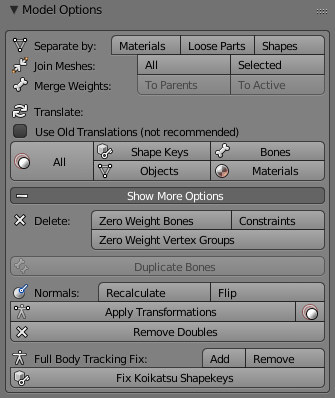
Avatar optimization is crucial for good performance in VRChat. Keep poly count low, avoid transparent textures, limit materials, and reduce physics props like hair strands.
I suggest using the free CATS Blender Plugin, which auto-optimizes your model for VRChat with one click!
Step 8 – Export Your Model from Blender
Once your model is ready, you need to export it from Blender to a file format that Unity can import, typically .fbx or .blend. Double-check your export settings to ensure the rig, animations, and textures export correctly.
Step 9 – Import Your Model into Unity
Unity is the game engine that powers VRChat. So your avatar model needs to be imported into Unity next. Look up guides for properly importing your model file type into Unity.
Step 10 – Set Up Your Avatar in Unity
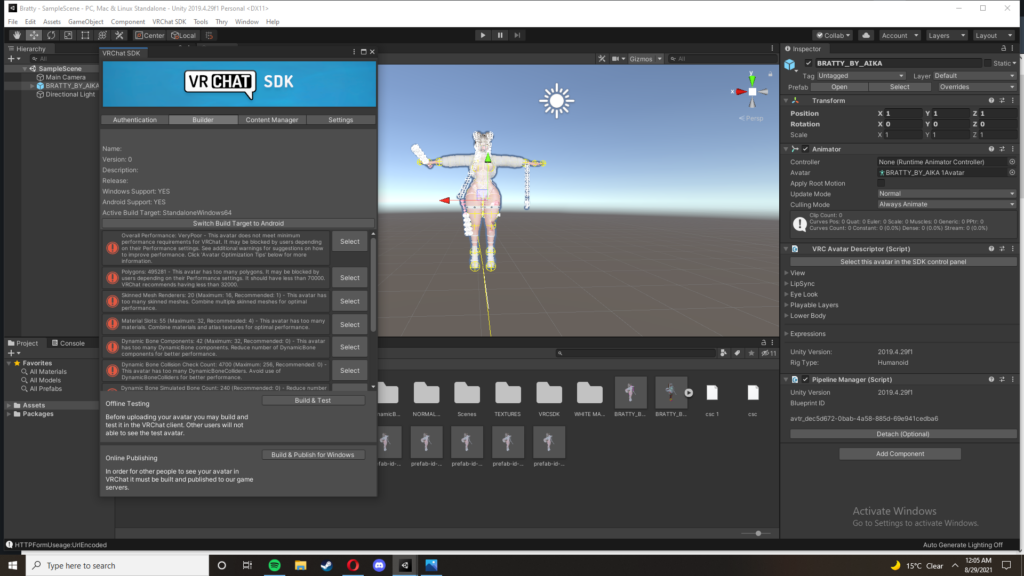
Finally, you need to set up your avatar in the Unity editor to get it working in VRChat:
– Add VRChat SDK
– Configure avatar descriptors
– Set up animator controller
– Add VRC components
This is where you can also add other behaviors like gestures and physics props if desired. There are lots of great YouTube tutorials covering these steps.
And that’s it! Your very own custom VRChat avatar is now ready to upload and start using!
Where to Get Premade VRChat Avatars
While making your own avatar is fun and rewarding, it does take quite a bit of time and effort. If you need a quality custom avatar fast, buying a pre-made one can be a good option. Here are some places to get premade VRChat avatars:
VRCMods: Dive into a treasure trove of anime, VTuber, and custom avatars. They’ve got a selection that’ll make your virtual head spin.
Gumroad: Individual artists set up shop here, selling their unique avatars. It’s like an avatar gallery, waiting for you to explore.
DeviantArt: Get artsy and search for VRChat avatars on DeviantArt. The community here is vast, offering a variety of styles.
Etsy: Believe it or not, Etsy isn’t just for handmade crafts. Some sellers offer custom VRChat avatars. It’s like a digital marketplace for your virtual self.
Fiverr: Need something truly custom? Hire an avatar artist on Fiverr. You can commission your dream avatar and support independent creators.
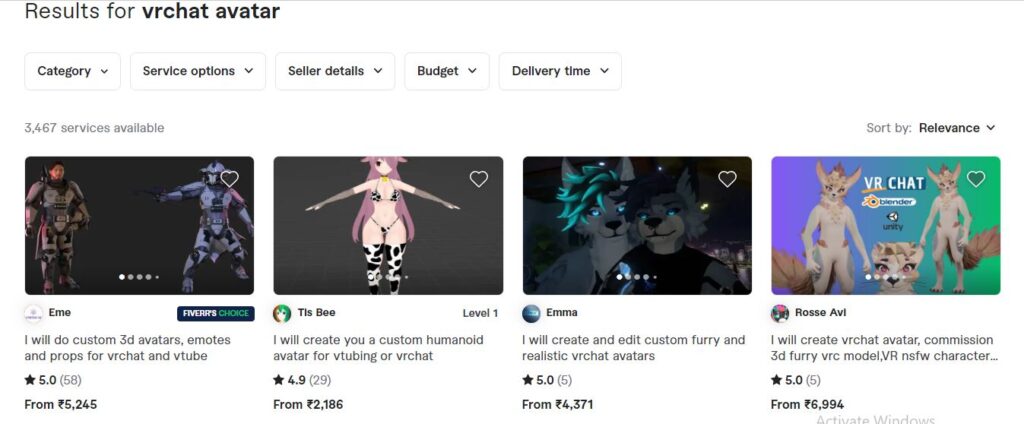
When buying premade, only purchase avatars that come with explicit permission for you to use on VRChat, either Commercial or VRChat use licenses.
Optimizing Your Avatar for VRChat
Before uploading your masterpiece to VRChat, you must optimize your avatar properly. VRChat has strict performance rules your avatar must adhere to.
Follow these tips:
– Keep poly count low, ideally under 70k tris.
– Avoid transparent textures where possible.
– Use an atlas to combine textures.
– Limit materials to 1 or 2 ideally.
– Reduce bones and joints.
– Limit particle effects.
– Don’t use real-time dynamic bones or cloth physics.
– Reduce Lighting components.
– Avoid expensive shaders and effects.
– Turn off Cast Shadows.
– Bake animations into keyframe animations.
I highly recommend using the CATS Blender Plugin, which auto-optimizes with one click! It also analyzes your model and gives optimization advice.
Take advantage of VRChat’s Local Avatar Testing feature to iterate and improve performance before publishing publicly. Keep tweaking until you hit that “Very Good” or “Excellent” performance rank!
How to Upload Avatar to VRChat
To upload your avatar for use in VRChat, simply build your avatar from Unity using the VRChat SDK, then upload it using the “Publish” button. You can publish privately just for yourself or publicly for all to see!
Conclusion
And that wraps up my ultimate guide to making your own custom VRChat avatar for free! I hope all these tips help you design your dream avatar that represents the real you.
Sure, making your avatar takes a bit more effort than just buying one. But it’s incredibly rewarding to see your unique creation come to life in VRChat for the world to enjoy!
Don’t worry if your first avatar isn’t perfect. You can always iterate and create new improved versions over time as you level up your 3D and animation skills.
The most important thing is having fun and learning new things along the way. The VRChat community is also super welcoming and will happily provide feedback on your avatar creations.
So get creative, put your flair into it, and don’t stress too much about making everything 100% polished right off the bat. Just getting started with customizing your avatars in VRChat is a big accomplishment to be proud of!
Alright, that’s enough rambling from me. I can’t wait to see you rocking your amazing new custom avatar in VRChat! If you have any other questions, feel free to ask in the comments. Now get out there and start creating!
Frequently Asked Questions
For beginners, Blender is highly recommended as it’s free, open-source, and has great community support. Other options are 3ds Max, Maya, and Cinema 4D.
No prior experience is required. You can learn 3D modeling and animation techniques through online tutorials and guides.
Great places to find free or paid base models include Unity Asset Store, CGTrader, Sketchfab, and Mixamo. Look for models rigged and ready for animation.
You can edit textures and colors, add accessories, change facial features and hair, swap clothes, and more. Start with subtle changes as a beginner.
Essential animations are lip-syncing, idles like breathing/blinking, gestures, poses, walking/running. Search for Blender animation tutorials.
Follow guides to rig your model as humanoid or generic, depending on the type. This is crucial for proper animation.
Keep poly count low, avoid transparent textures, limit materials, reduce bones/joints, limit particles, avoid expensive effects, and more.
Build your avatar in Unity using the VRChat SDK, then upload privately or publicly using the “Publish” button in the SDK.
Check out VRCMods, Gumroad, DeviantArt, Etsy, and Fiverr for premade avatars. Just ensure you’re in the clear with licensing before you hit that “Purchase” button.
